
This article is designed to take you through the first steps of creating your Course in the Console.
This article will take you through the initial steps of creating your Course and how you can amend some of the settings to best suit you and your Community. If you are looking for a guide on how to create a Lesson, why not check out this article here.
Let's start off by logging in to your Console and navigating to the Content option in the left hand menu. From here, tap Courses to be taken to your Courses landing page. It's here that you will see any and all Courses you have already created, and their live or draft status.
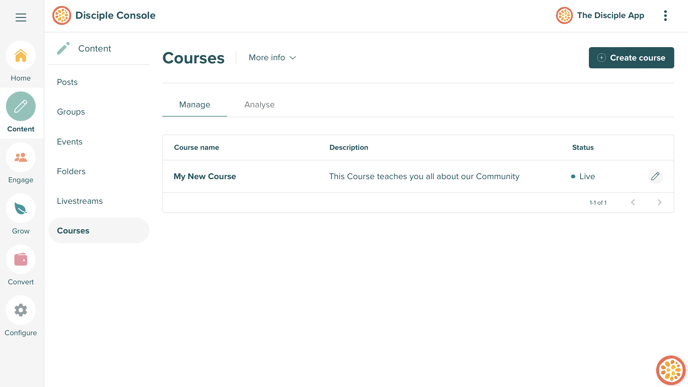 You can either tap + Create Course to start creating a new Course, or you can tap the pencil icon to the right of an already created Course, to start editing and creating. For now, why don't we tap the + Create Course option.
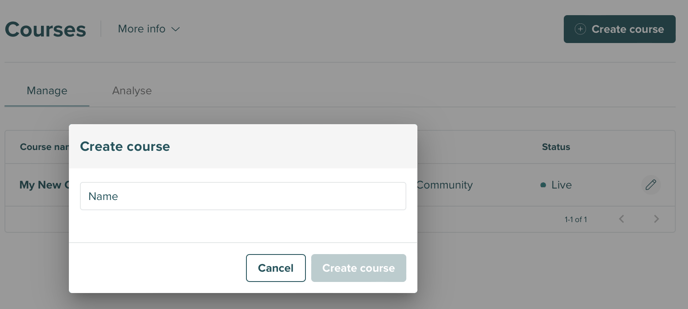 As you might expect, the first thing you want to do here is give your Course a name. Don't worry though, you can change this in the future!
Course Settings:
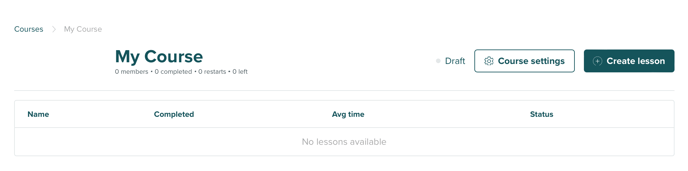
Once you've set your new Course name, you will be taken to that Courses main page. The first thing we will do here, is tap on the Course Settings button
 You have a bunch of options here to edit the outlook of your Course, let's go through them individually together:
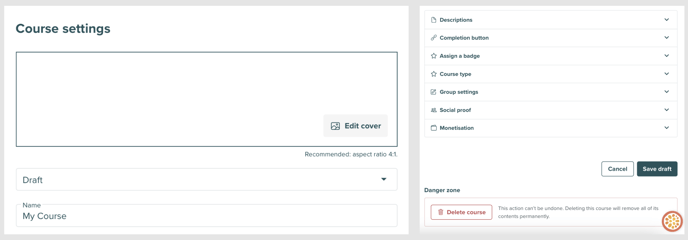
- Add a Cover Image: Tap Edit Cover to add the cover image for your Course. We recommend a 4:1 aspect ration for this.
- Set the Status of your Course: This is automatically set to Draft. If you want to publish your Course or test it out in your Community, you would need to set this to Live.
- Amend the Name of your Course: You don't need to change this if you don't want to, but this is where you can change your Course name.
- Descriptions:
- Type out a Pre-Start Description: This is a short description you can set that members who have not started the Course can see. You are essentially telling them what they would learn through your Course.
- Set out an In-Progress Description: This is a different message and description that only members who have started the Course can see. This should be an in-depth description of your Course.
- Add a Completion Description: This is your final message and goodbye to your members that have completed this Course. You could use it to suggest a new Course to take that leads on from this for example.
- Completion Button:
- Add your Completed Button Text: This is the text of the button a member presses when completing the Course – Congratulations for example.
- Set a Completed Button Link: Setting this link means that when a member presses the completion button, they're taken to your desired Community section.
- Assign a Badge to a Member who Completes the Course: You can create a specific Badge and then have it be automatically assigned to a member who successfully completes your Course. This can add an incentive to new members and those who have not enrolled to your Course yet.
- Course Type:
- Require Members to do Lessons in Order: Toggling this on, will mean that members can only progress in the Course by doing the lessons in the order you arrange them in.
- Group Settings:
- Use a Dedicated Group: This setting will create a dedicated Group that only members enrolled in this Course will be added to. This is great to allow for inter-Community learning to take place between members. You can edit the Group thumbnail and Cover image in the Group settings.
- Social Proof:
- Show Members that Completed the Course: All members who successfully complete the Course will have their profile shown to everyone in your Community.
- Show Members that are Doing the Course: Enabling this, means that members know who to reach out to to find out more about the Course they are taking.
- Monetisation:
- Choose who can Access your Course: This is where you can decide if your Course will be free, or if you want to monetise it through a one off payment. Here you can set your desired price and submit it for review, where a Disciple team member will review it and enable it for you.
If you're happy with the changes you have made, don't forget to press Save Draft/Publish!
Finally, if you feel like you want to completely delete this Course and all its content from your Community, you can press Delete Course. However, this action is Not Reversible and once a Course and its lessons are deleted, they cannot be recovered.
Create your Lessons:
Once you have set how you want your overall Course to appear and behave, it's time to start creating your lessons!
Tap + Create Lesson to start creating your amazing content. For more in-depth information on how to do this, why not take a look at our article on How to Create a Lesson.
Linking to your Course:
There are a couple of ways to link to your Course through your Community. Depending on how your Community is structured, not all of these options may be suitable to you:
- You can add a Course to a Folder Link – why not learn more about how to do that here.
- As a link to your Navigation Menu – why not learn more about that here.
- As a link via a Button in a Post - why not find out how here.
You can even Monetise your Course to have some premium content.
Top Tip:
- Your Apps need to be on the following minimum versions for them to be compatible with Courses:
- iOS minimum version 4.21
- Android minimum version 4.61