
Badges let you easily reward your members and allows your community to identify who's in charge. But there's so much more!
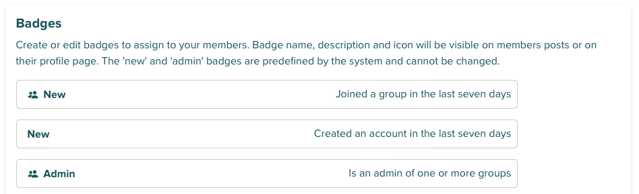
At the very beginning, you automatically have the badges that show if someone is New to a Group, New to the Community and a Group Admin. These cannot be deleted, but you can add to them!
If you choose to set up monetisation, you'll also get this nifty little Subscriber badge which you are allowed to customise.

But for now, let's focus on creating our own unique badge together.
Creating a New Badge:
It doesn't take much more than a little imagination to start customising and creating your badges.
There is a 20 badge limit, which we're sure is plenty for now, but if you need more, reach out to your friendly support team to see if that can be changed.
Head to the Console, click on Engage and select Profile & Badges.
Click on Add New Badge and you'll get presented with this window ⬇️
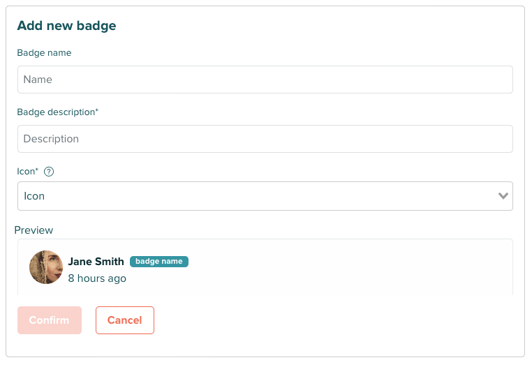
- Badge Name: we suggest keeping this snappy, ideally one or two words.
- Badge Description: details how a member can get awarded this badge.
- Icon: search through a large database of different icons that best represent your new badge.
When you're happy with what you have created, press Confirm.
Then once you have created all the badges you want to, press Publish to make them live!
How to Assign Badges:
There are multiple ways to assign badges to members depending on the rules you have put in place for someone to be eligible for them.
If you want to add them to specific individuals:
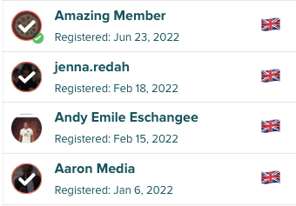
Head to the Members section in the Engage part of the Console and click on the profile image for each member you wish to add a badge to - a tick will appear over their image ✔️.
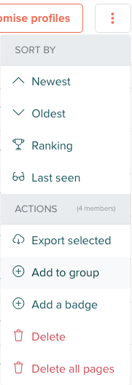
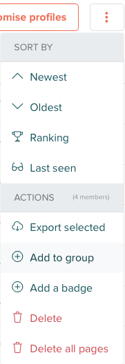
Once you have done that, click on the three dots to the right of the page and select + Add Badge from the drop down menu.
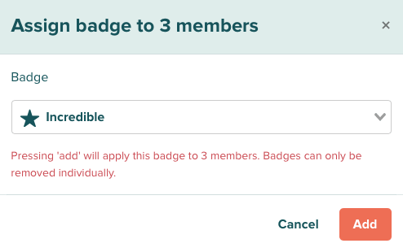
When you click on + Add Badge, a pop-out window will appear allowing you to select the badge you want to assign.

Select the badge from the drop-down menu and press Add!
Just like that, you've assigned a badge to a set of specific individuals.
If you want to assign badges to a specific group of individuals:
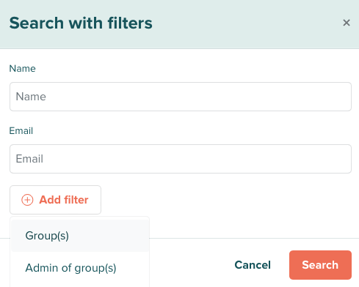
Head to the Members section in the Engage part of the Console and click Filter which appears to the right of the search bar.

A pop-out window will appear that allows you to set certain specific filters, to search through your community more efficiently. For example, we've opted to add the filter for a specific group to our search.
Once you have run your filtered search, select the three dots to the right of the page and click on + Add Badge from the drop-down menu. Select the badge you wish to assign and then press Add!
There you have it, we cannot wait to see the incredible badges you're sure to create! ⭐️