
The menu bar is a feature of your community app and web platform, where members can navigate to different areas of your community.
You have the power to customise your Menu, including what options are displayed and the order they are displayed in.
Let's start off by heading to the Console, selecting Configure from the left hand menu and then selecting Navigation.
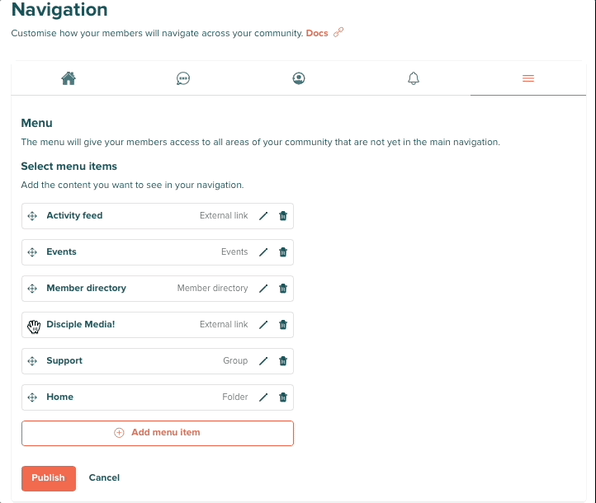
Once there, select the 3 lines that appear above each other from the menu, as shown in the picture below.
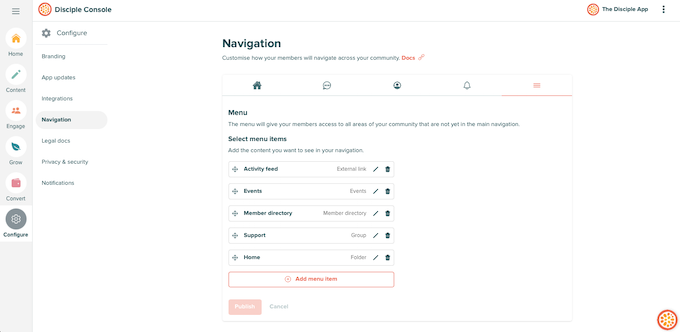
As you can see from the image above, we've chosen to only have a few Menu items, so let's first add a new menu item together, and then let's edit that menu item!
Adding a New Menu Item:
Click on Add Menu Item which appears at the bottom of the list to bring up a pop-out menu. Clicking on the drop-down menu, presents you with a few different options for possible Menu items:
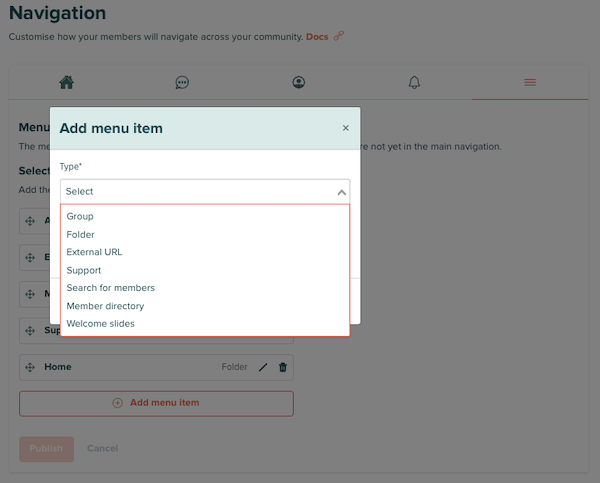
Group: Selecting a specific Group that a member will be taken to. (Only shows Mandatory or Public Groups)
Folder: Allows you to chose a specific Folder that you want a member to be taken to.
External URL: Allows your member to be taken to an external webpage outside of your community.
Support: Takes your member to a generic Support page.
Search for members: Will take your member to the search bar in your Community.
Member directory: Allows your member to be taken to the Member Directory.
Welcome slides: You have important information in your Welcome Slides, why not link to it for your members to review again.
In this instance, we've chosen to add an External URL - no surprises what external URL we've chosen to link to!
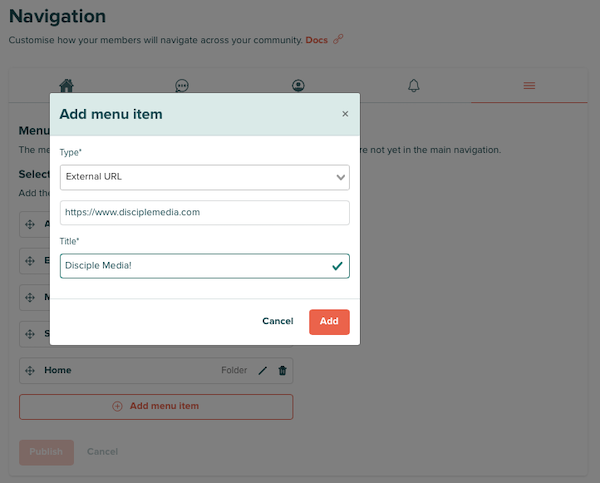
After filling out all the required information, click Add!
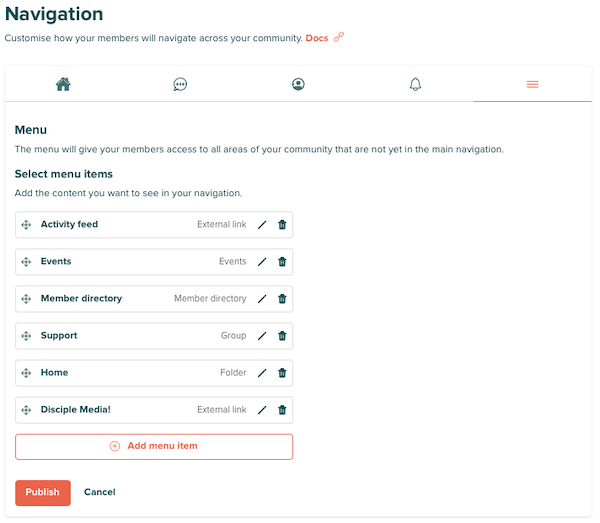
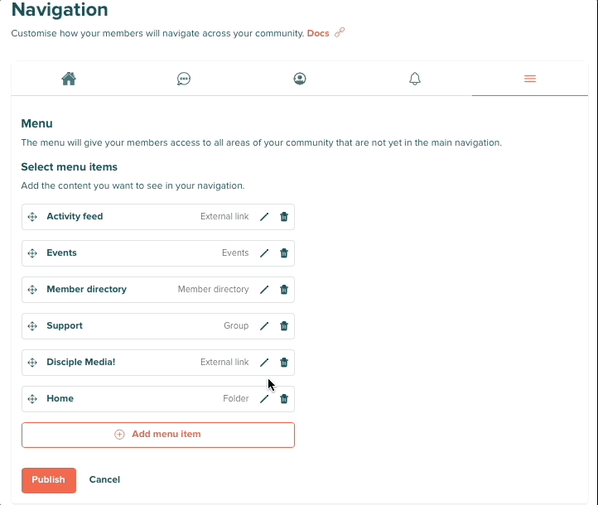
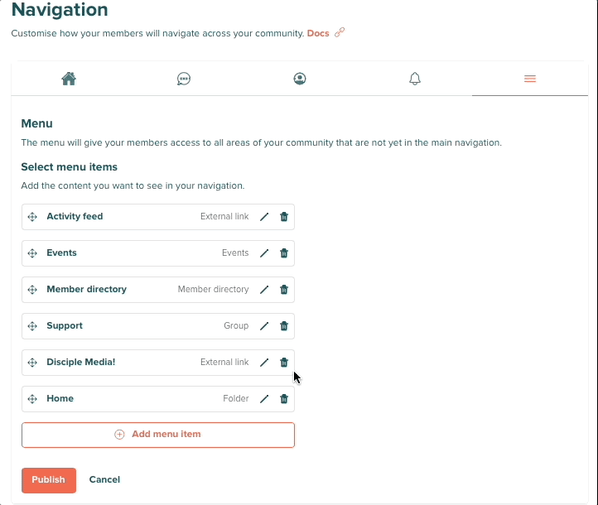
A new Menu item is automatically added to the bottom of the list of Menu items. You can rearrange its position, by clicking on the small compass icon to the left of the Menu item title, and dragging it into the position you want it to be in.
It's important to note that this new Menu item is not automatically published to your Community until you press Publish at the bottom of the page!
Editing Menu Items:
You have the option to edit a Menu item in three different ways.
Moving the position of a Menu item:
Clicking and holding the compass icon to the left of the Menu name, allows you to drop your selected Menu item to the position you want it to be in.
Editing a Menu item:
You can edit each Menu item by clicking on the small pencil icon.
Deleting a Menu item:
You can delete a Menu item by clicking on the small trash can icon.
Don't forget to press Publish when you have finished making your edits!