
You may not want everyone in your organisation to have access to all of your Community Console. Learn how to manage their access here.
This article follows on from our article on what the different Console roles are. If you haven't read that yet, it's definitely the place to start.
This article will be covering:
- How to add a new Console Admin account.
- How to manage a Console Admin accounts permissions.
- How to delete a Console Admin account.
Let's begin by heading to the Console and clicking on the 3 dots that appear at the top right of the screen. From here, select Admins.
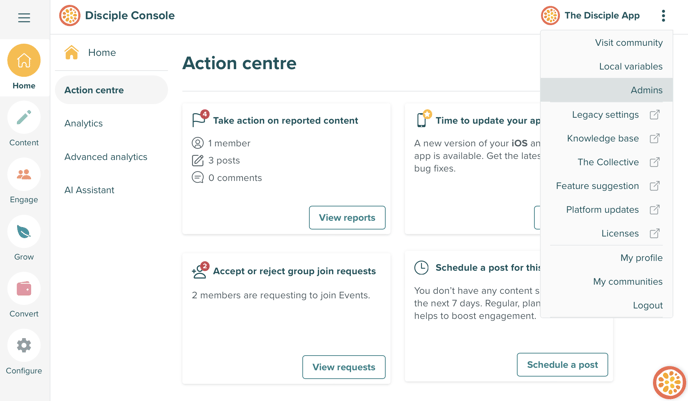
You'll be taken to the Admins page in the Console, which is where you can make all of your amendments.
How to Add a New Console Admin Account:
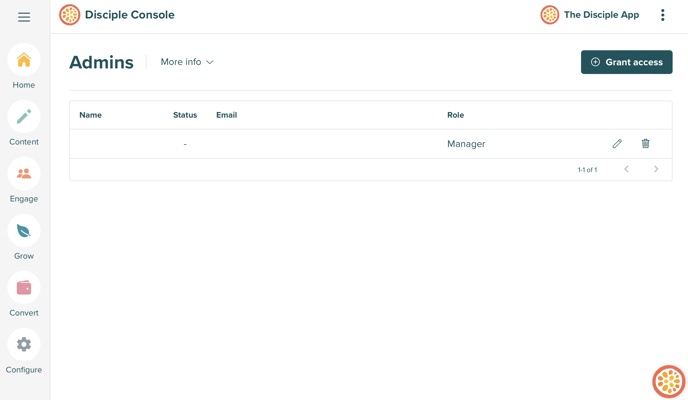
You've decided that you need a bit of support in running your Community and are looking to onboard a new member to your team. Adding a new member to your team is a nice easy process and can be done with the click of a button.
Clicking on the Grant Access button, will present you with one of two pop-up windows:
Inviting a new Console Admin to your Community:
You'll be presented with this window if you have not yet reached the limit for the number of Admins you have included in your Community package.
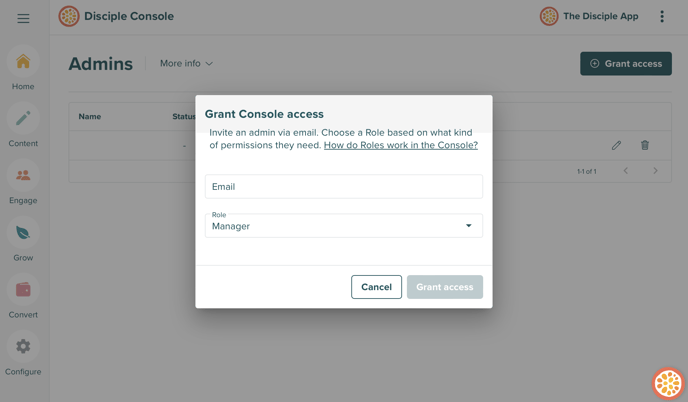
Here you will be able to type in the email of the Admin you intend to invite to the Console, and then you will have to select what role permissions you would like their account to have.
Once that's done, press Grant Access in the pop-out window and the invitation will be sent.
There are two important things to remember here though:
- The email address you use to invite your new Admin, will be the email associated to their Console Admin account – they cannot pick a different one later on.
- Console Admin access is different to a Member Account. We would recommend using a different email and password than the one they have as a member account.
Upgrading your Console Admin seat Limit:
If you clicked on the Grant Access button but are presented with the message below instead, it would indicate that you have already reached the Admin seat limit for your current Community package.
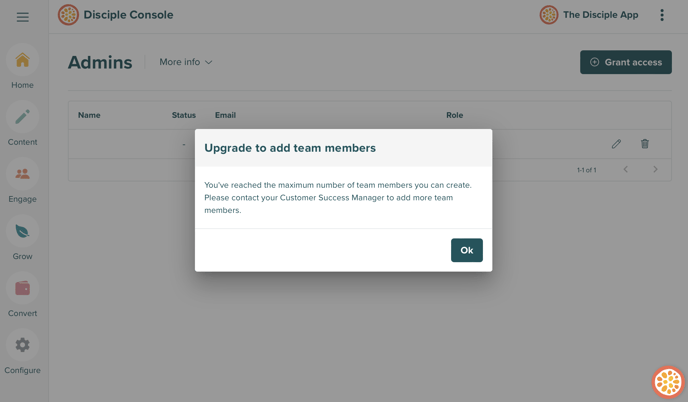
As the message says, you can either speak to your Customer Success Manager (if you have one) to organise increasing your limit, or you can reach out to our helpful Support team by emailing help@disciplemedia.com. They'll be able to guide you through the process of upgrading your limit.
How to Manage a Console Admin Accounts Permissions:
From time to time, you will be wanting to upgrade or downgrade the permissions a member of your team has. Luckily, this is something that is easy to do from the Admins page.
Once you have decided on what Admin role you would like your team member to have (read more here), you will have to click on the pencil icon that appears to the right of the members Console Admin account details.
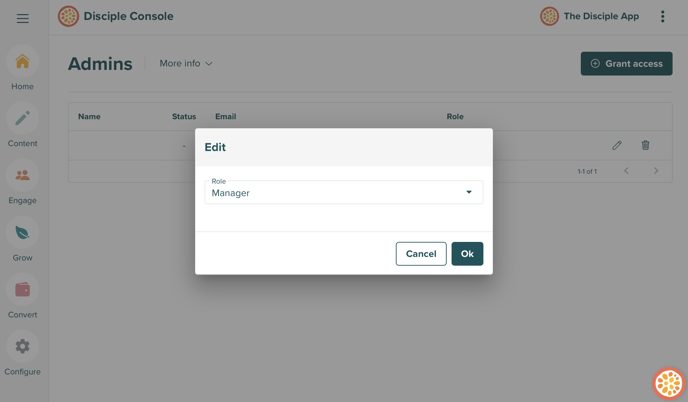
From this new window, you will be able to select one of 5 roles that best fit the member of your team. Once you've made your choice, select Ok and that selection will be saved.
How to Delete a Console Admin Account:
Someone has moved on from your organisation and you want to make sure that they no longer have access to the inner workings of your Community.
In the same Admins page of the Console, you will see a small trash can icon to the right of the Admin account you would like to delete.
Clicking this will present you with a pop-out window asking you to confirm that you wish to delete the Console Admin account.
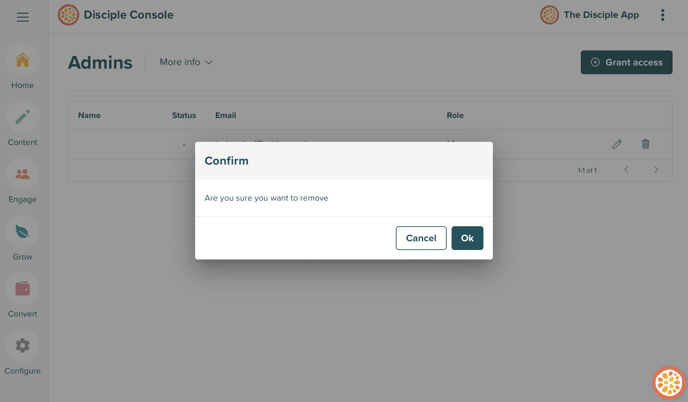
Before you press Ok, it's important to note that this is a permanent action and cannot be reversed. Please make sure that you are certain that you want to permanently remove that account from having access to your Console.
If you're certain, press Ok to remove the Console Admin account.
Top Tips:
- You can find out how much an extra Admin seat will cost by visiting the Pricing page of our Website.
- If you ever get stuck, don't forget you can always reach out to our wonderful Support team by emailing help@disciplemedia.com.