
Articles are a perfect way to show long-form posts, such as blogs, guides and of course, actual articles.
*To add an article to a folder, firstly, you must create one. The guide for creating folders can be found here.
Let's start by logging in to your Console, select Content and clicking on the Folders section.
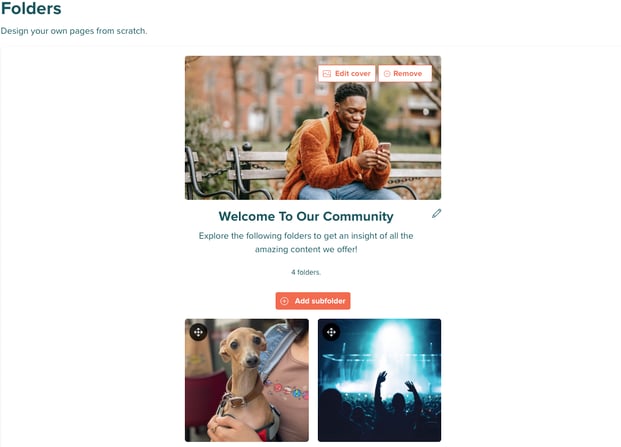
Here you can either select an existing folder, or create a new one by clicking on the plus icon.
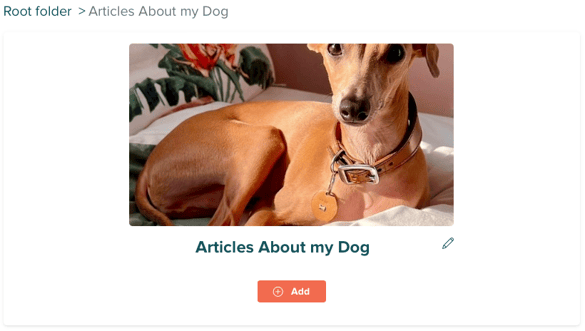
Click on the folder you want to add your article(s) to. Doing this will land you directly on its main view.
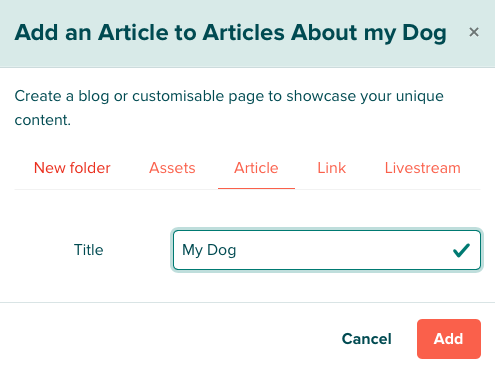
Click 'Add' and a pop-up window will appear giving you the option to select what type of asset you want to have. Let's go ahead and click 'Article', type in a Title and click 'Add'!
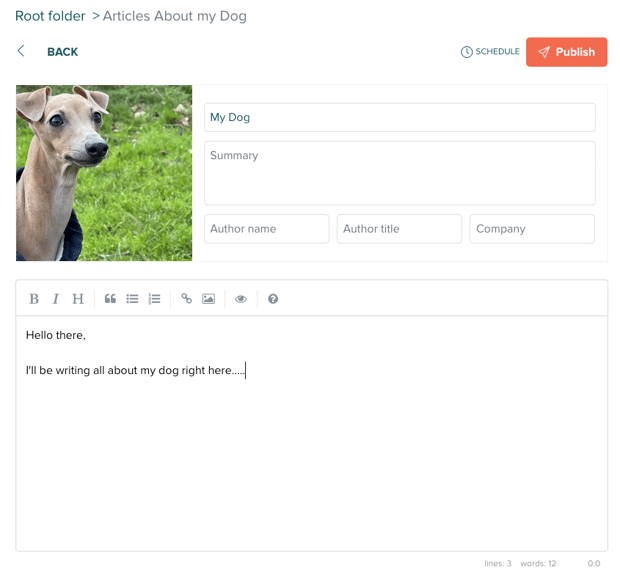
Add a cover image, title, summary, details about the author and the main text.
You can also choose to Embed Assets within your Article:
To add an image inside of the article's text, place this code within the text:
<center><img src ="IMAGE URL HERE" width="320"></center>
We recommend using ImgBB to host your images and generate a URL from, just make sure it is a direct link that you have chosen. It should look like this:
<center><img src="https://images.com/myimage.jpg" width="320"></center>
To add a hyperlinked email address inside the article's text:
<a href ="mailto: EMAIL ADDRESS HERE">EMAIL ADDRESS HERE</a>
It should look like this:
<a href="mailto:support@disciplemedia.com">support@disciplemedia.com</a>
To add a hyperlinked telephone number inside the article's text:
<a href ="tel: PHONE NUMBER HERE">PHONE NUMBER HERE</a>
Make sure you add the international "+" country code to the part in the <brackets>, such as +44 for the UK or +1 for USA. It should look like this:
<a href='tel:+441234123456">01234 123456</a>
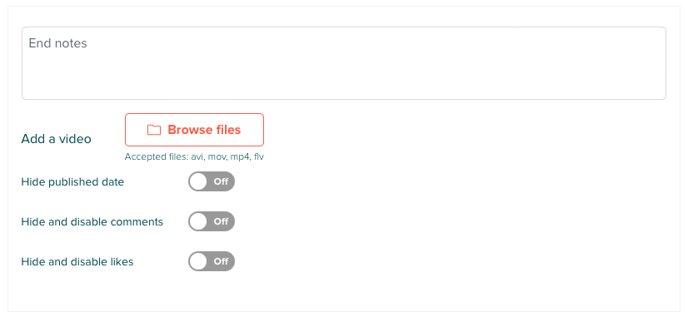
Finally, you can add an end note and/or a video (which will display at the bottom of the post).
Then once you've decided on that, you can choose to hide the date of publication, hide and disable anyones ability to comment on the article and hide and disable anyones ability to 'like' the article.
When you're happy with your content just click publish!
Monetising your Article:
If you have a Freemium Community, you can also monetise your individual Article and include it as a part of your paid for subscription offering.
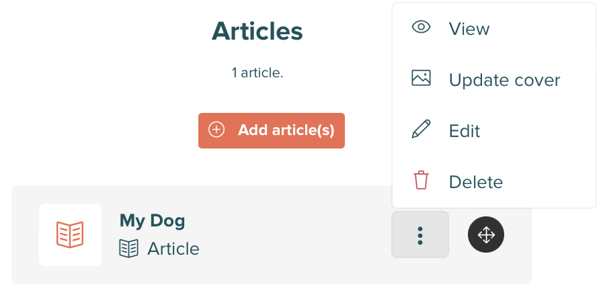
Tapping on the three dots to the right of your Article will open the menu, select Edit here.
You can now have the option to make this Article a part of a specific subscription. If you have a multi-tier subscription system , you can set the Article to be available for specific tiers. However, if you have a standard monetisation set-up, select Premium from the drop-down menu and then press Confirm.

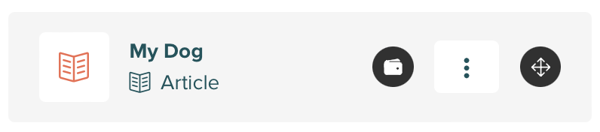
Once that has been saved, you'll now see a small wallet icon next to your Article, indicating to you that the Article has been set for paid subscribers only.
Now if you have a member that doesn't have a paid subscription to your Community, when they interact with the Article, they'll be prompted to subscribe first to gain access.