
You might already have an established brand or website, so why not learn how to integrate them through creating a custom domain?
Word of warning, each domain registrar will have different avenues for how to create a CNAME. We can't give you examples of each one unfortunately, but we've added a couple of screenshots to give you a general idea!
By default, your Web community will have a domain like YourCommunityName.disciplemedia.com.
With a custom domain, you can change this to anything you want if you’ve bought a domain in the past. However, we generally recommend that your community lives on a subdomain like YourCNAME.TheDomainYouAlreadyOwn.com.
To create a custom domain for your Web community, you'll need to update your Domain Name System (DNS) so that it has a Canonical Name (CNAME) is pointing towards the appropriate place on Disciple’s servers, such as YourCommunityName.custom.disciplemedia.com.
Take a look at the steps below for some guidance on how to create a CNAME: ⬇️
To set up your custom domain, please follow these steps:
1. Navigate to the appropriate section in your domain registrar
In your domain service's dashboard navigate to your DNS settings (sometimes called 'DNS Management'), then the 'Custom resource records' section (or 'CNAME' section) and start to add a CNAME.
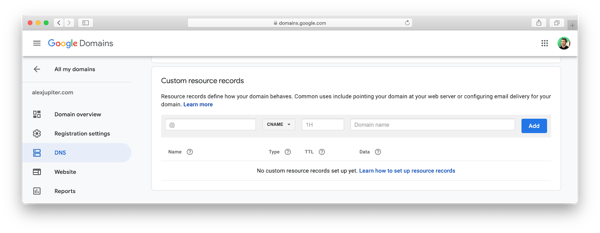
Google Domains
For the Google Domains service you'll see something like this:
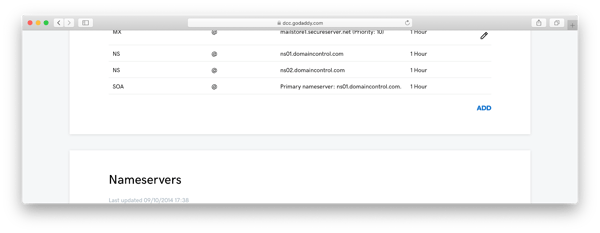
GoDaddy
For the GoDaddy Domain service go to the 'DNS Management' page and scroll down past your existing records until you see an 'Add' button:
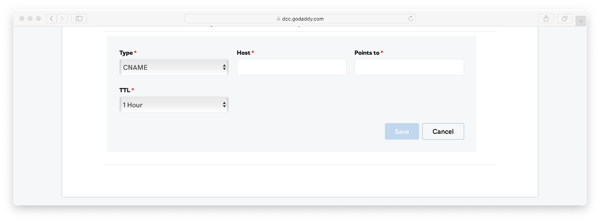
Then choose 'CNAME' from the dropdown and your screen should look like this:
2. Add a CNAME and point it to Disciple’s servers
Now you'll need to create a CNAME with the hostname you want.
CNAME = Something of your choosing
Points To = YourCommunityName.custom.disciplemedia.com.
What people will type = YourCNAME.TheDomainYouAlreadyOwn.com
It is really important to include 'custom' in the URL you are pointing to.
&
Yes that's right, unless you're told otherwise, you also need to add a full stop at the end of it all.
These changes can take about 48hours to implement depending on your domain registrar, but it's normally much quicker.
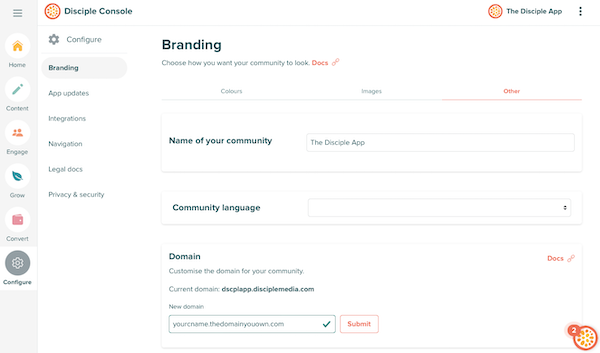
3. Head to the Branding section of your console
Now that you have set that up, head to the Console, click on Configure, then go to Branding and select the Other tab.
Paste in your URL, click submit and wait for your domain to apply. This can take up to 72 hours to apply so don't worry if it doesn't sync instantly.
That's it, now you just need to tell your members where to find you! 🔍
As always, if you receive an error or you get stuck, you can always reach out to your friendly Support team at help@disciplemedia.com.